

How to Decorate a Gift Hamper Basket
The gesture of gift-giving has a major place in our lives, you can say it’s a way of bonding of cultures between individuals where they feel special and important. Let's admit we all love giving and receiving gifts. The thrill of surprises and anticipation is what we look for while we receive or give gifts to each other. Considering the opposite person's likes and dislikes; choosing the perfect gift is a tedious task to do, we often hop from one shop to another or from one website to another to pick the perfect one for the people we adore. As gift-givers, we already have an image in our mind of what we are looking for but sometimes we have to settle with whatever we find in the nearest store.
Gifting someone is great but choosing, picking and assembling it to make it like you want just for that person you want to gift, adds a personal touch to it. Not only does it look so good but also shows your effort and appreciation to the person receiving it.
Gift Hampers can be a great choice for a gift but are expensive and sometimes come with items that are irrelevant. We don't want unnecessary things to occupy the space right? So, we bring you some easy DIY tips and techniques to follow so you don't end up with unwanted items in the basket plus, it won’t harm the budget you decided for the gift. Sounds good doesn’t it?
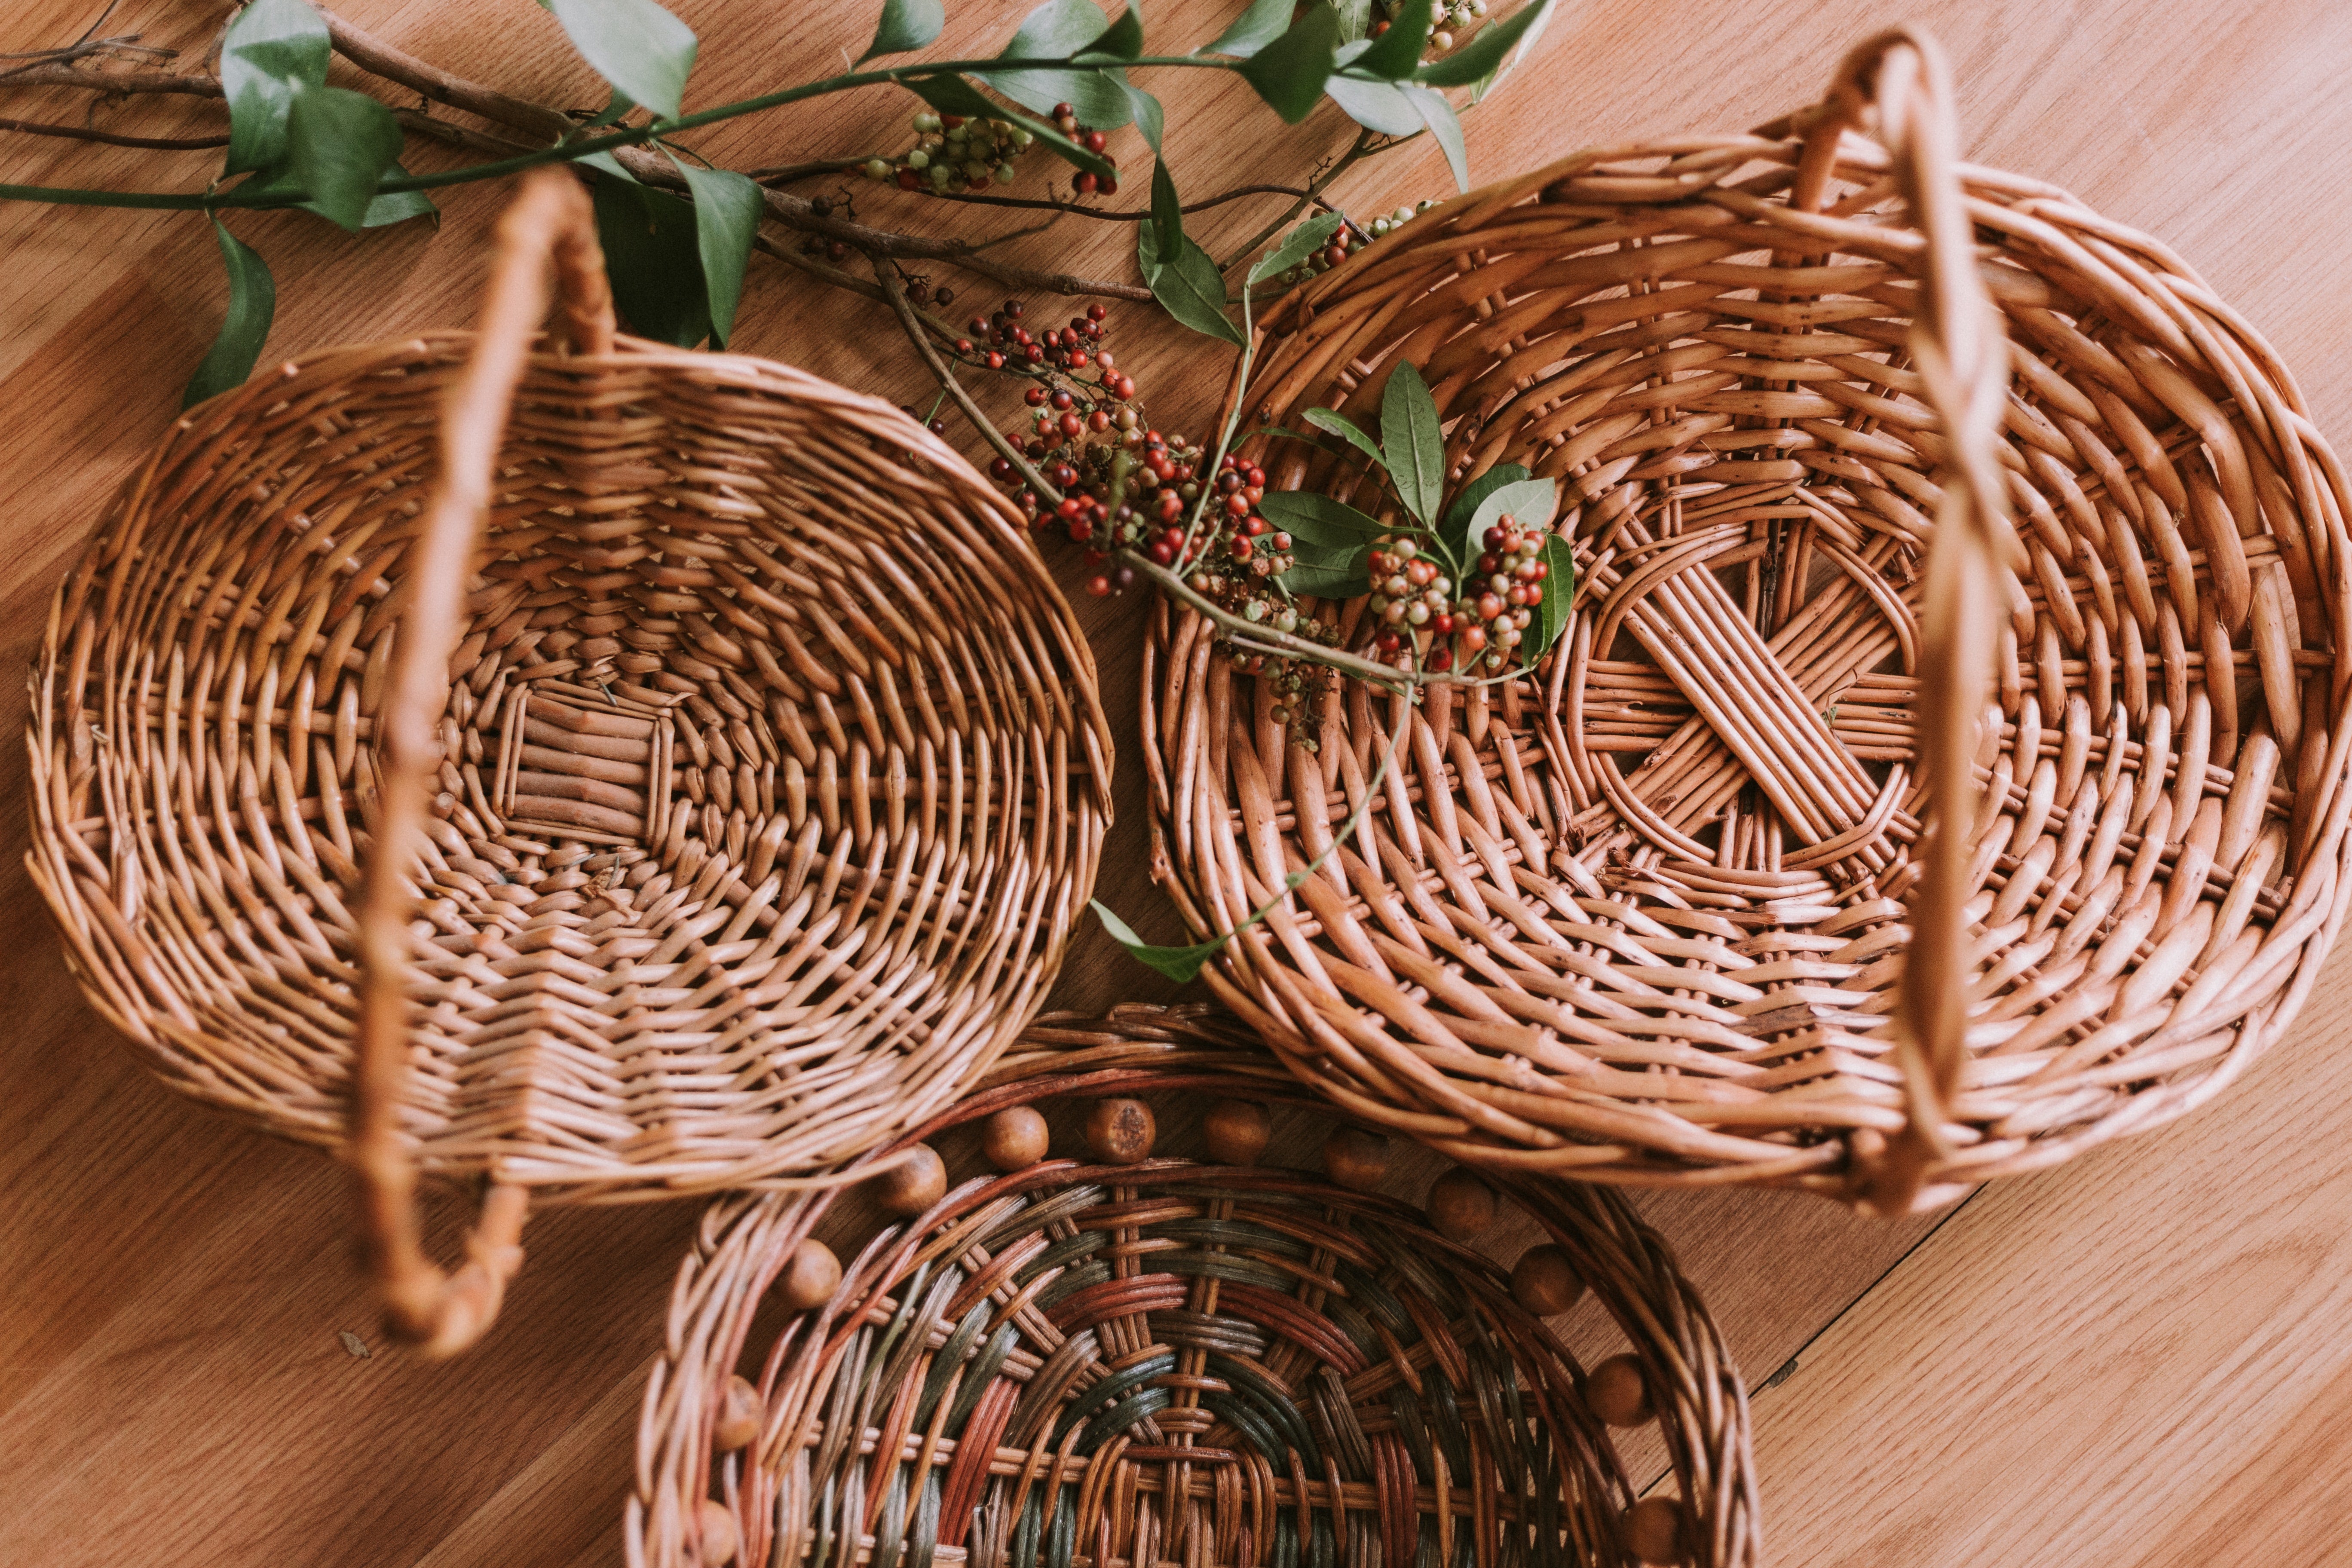
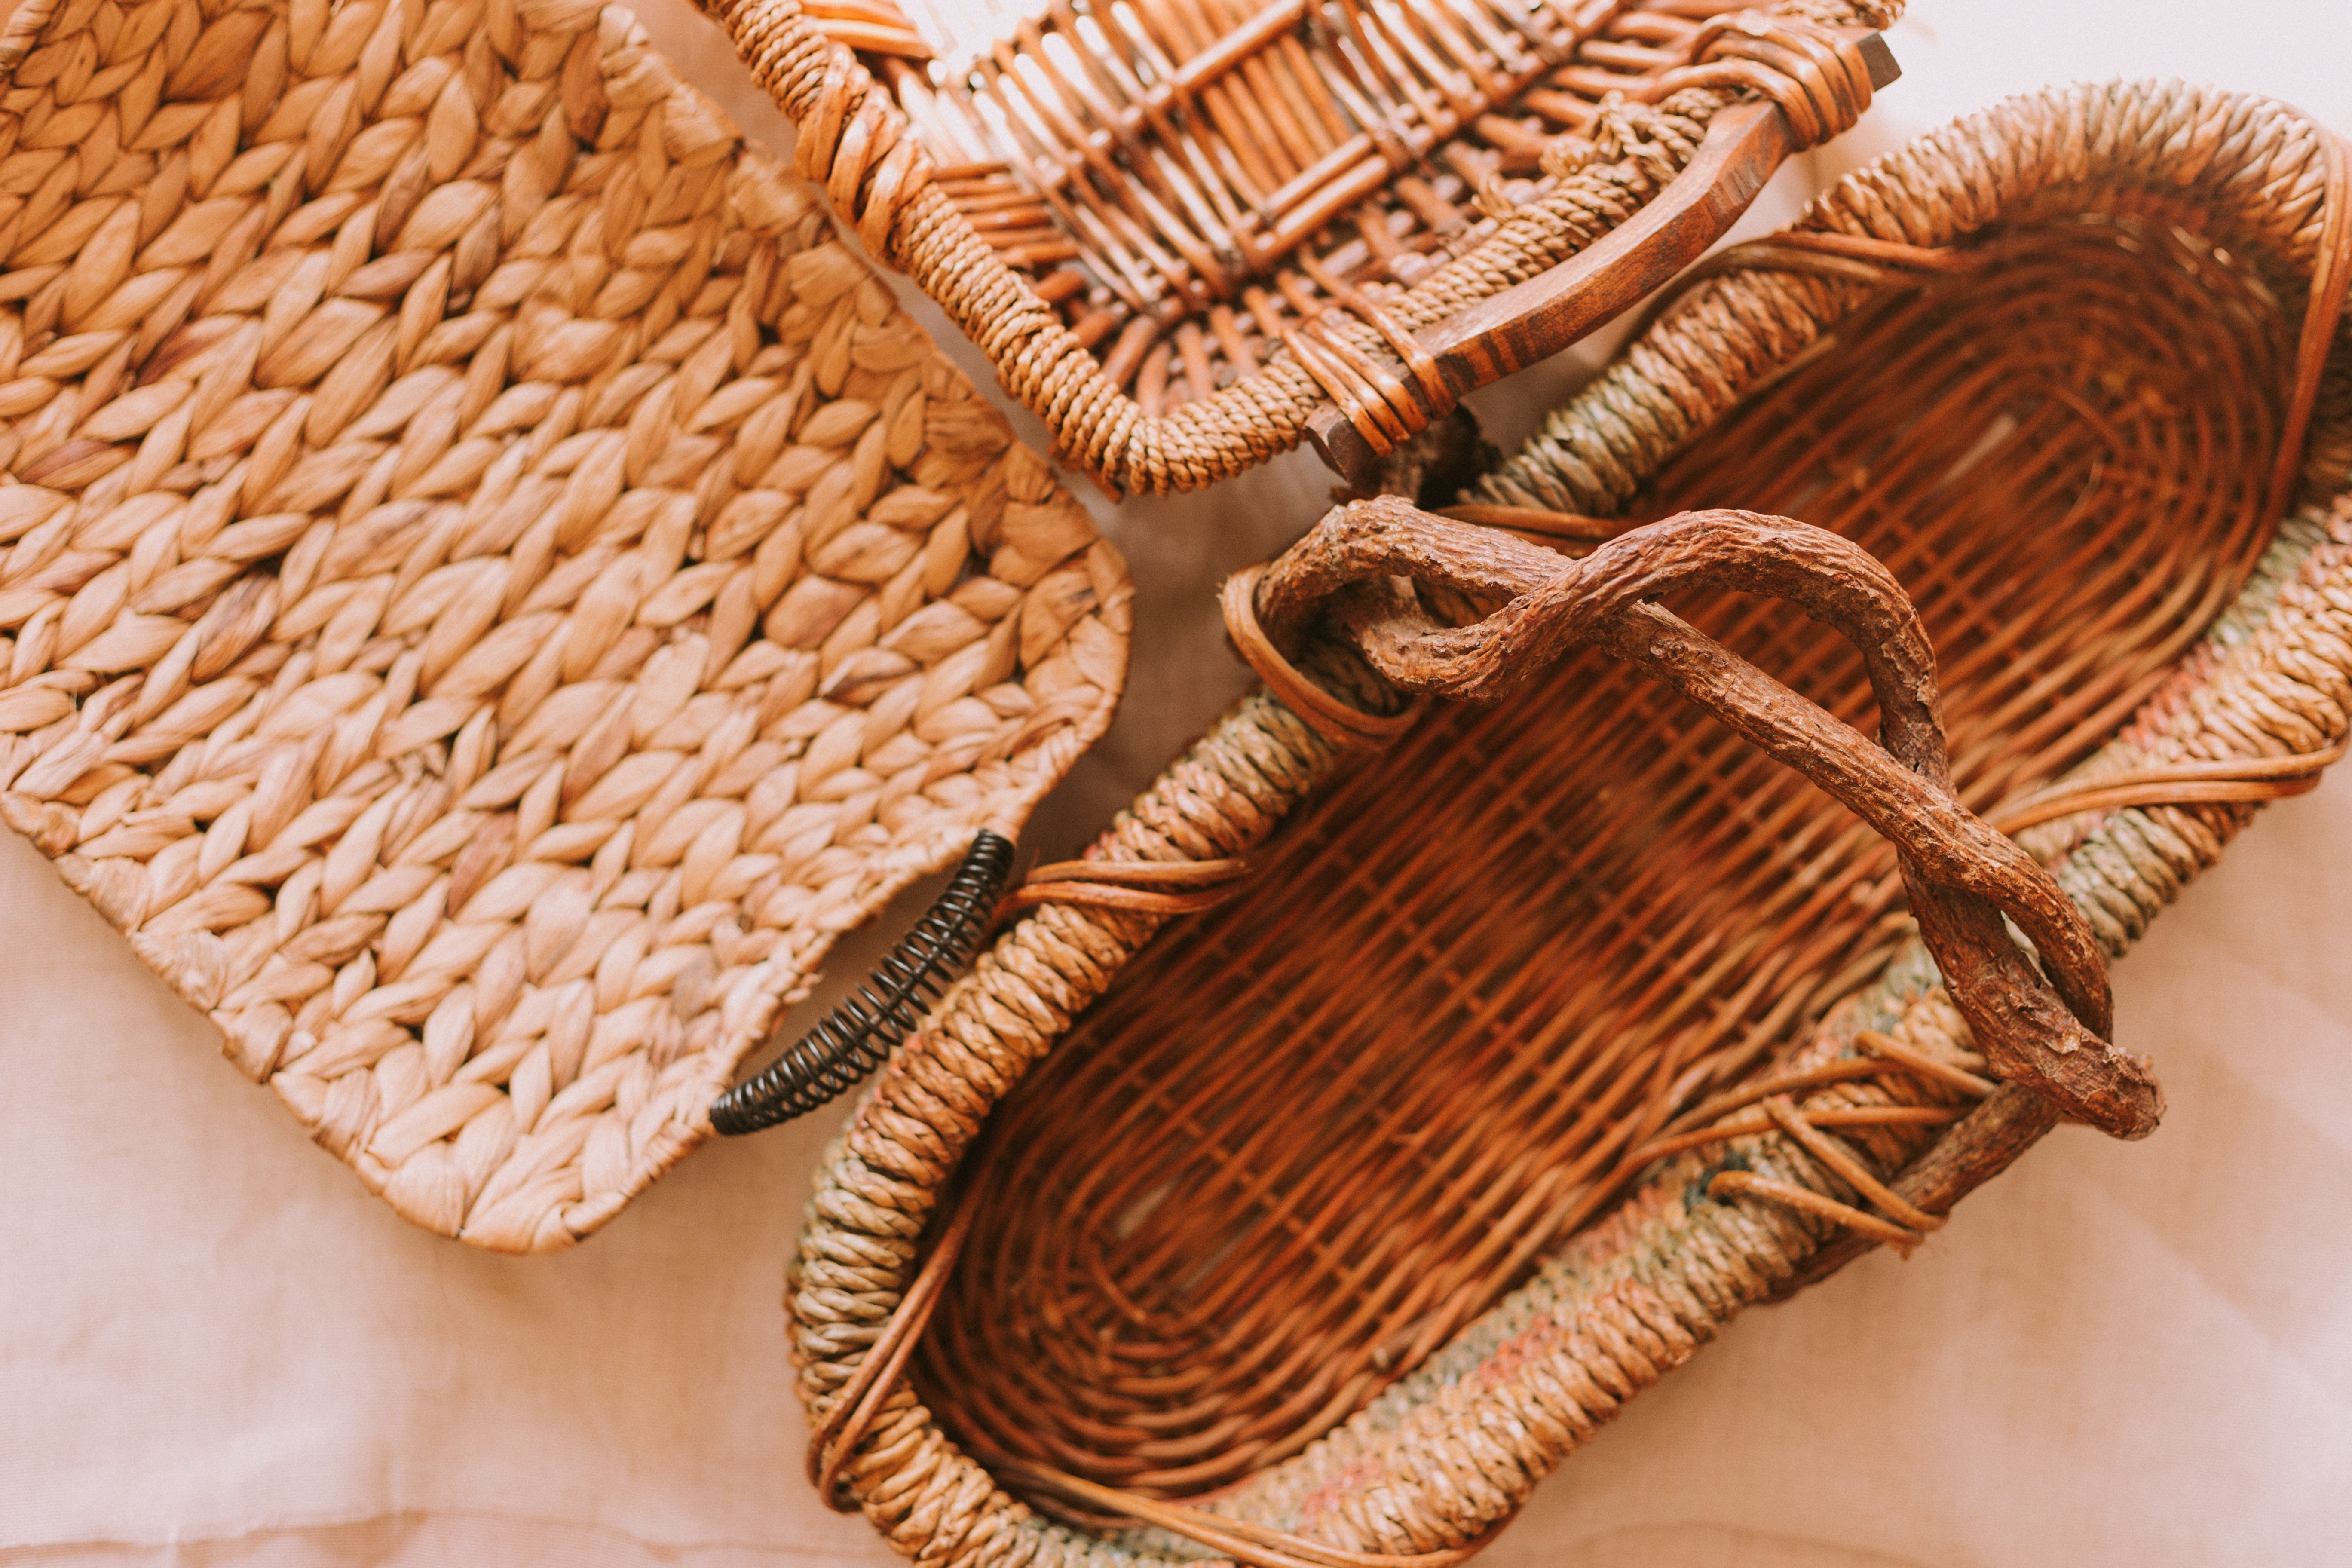
Pick a Basket

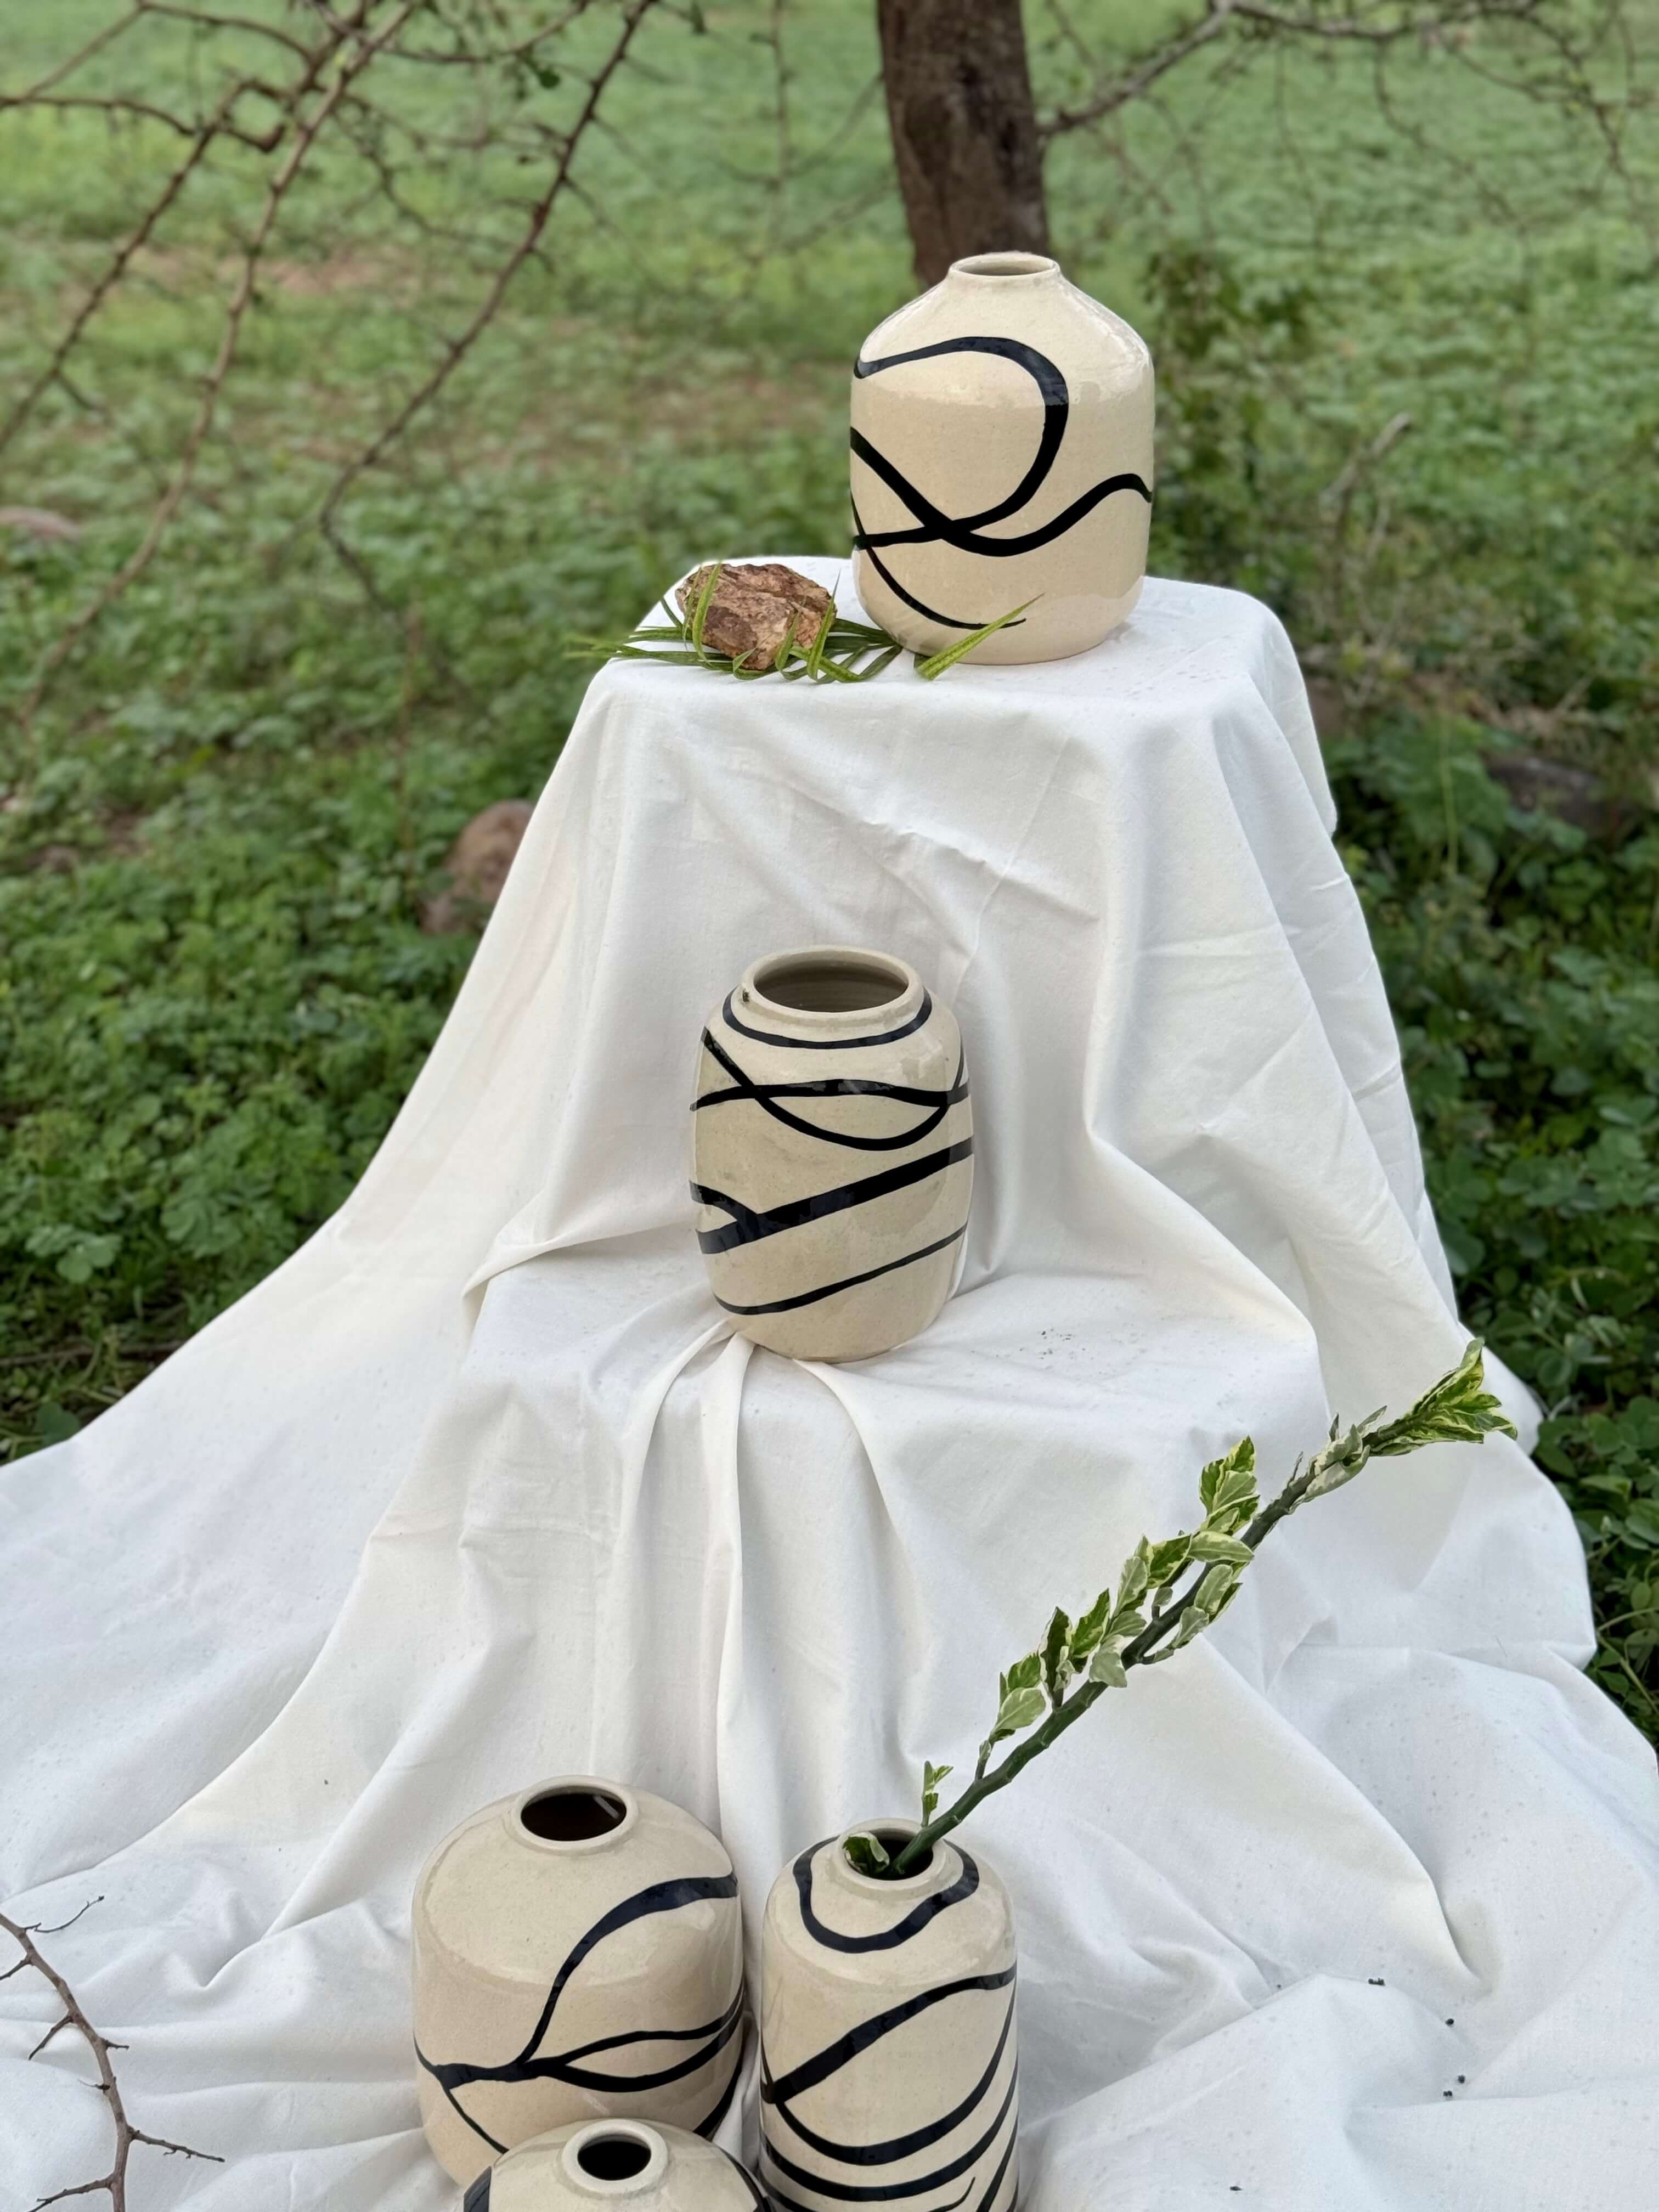
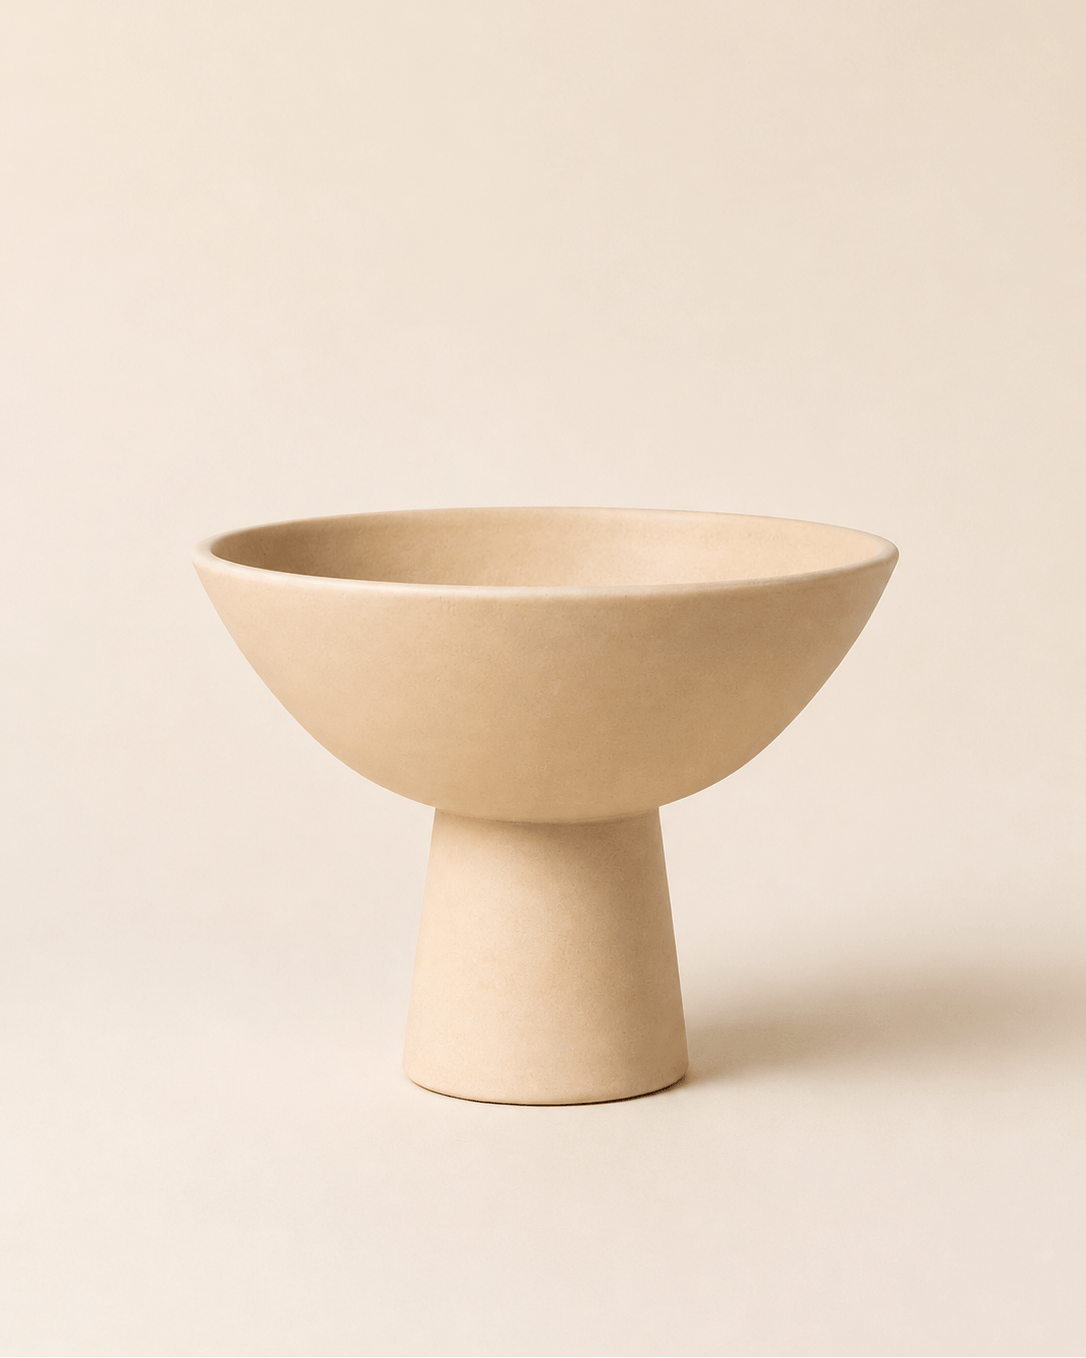
A gift hamper basket including all the favorite things we want to put in it is everything that one can imagine for a perfect present, so choose any basket you like but we recommend a basket made of cane. They are lightweight, easy to handle and come in neutral colours which makes them look sophisticated. The best part? They can be reused by the receiver as well. If you are not looking for neutral colours you can repaint it with acrylic or spray paint and design it however you want.
Pick a Theme

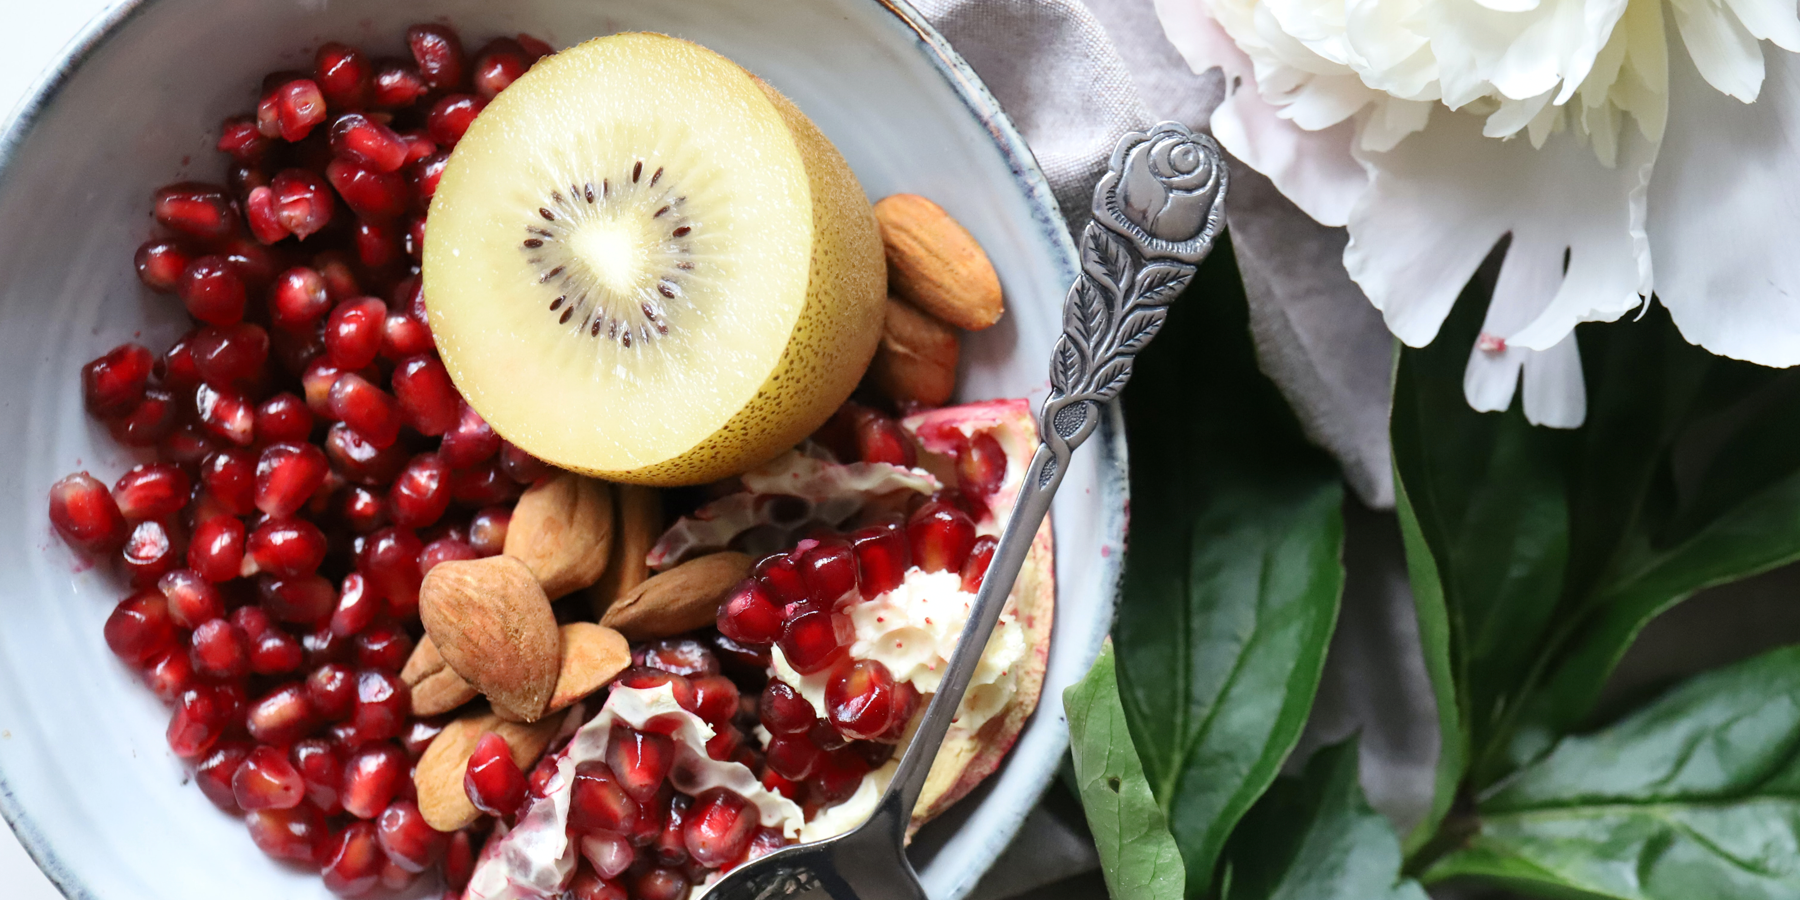
Picking out a theme gives you a clear idea of what you are looking for. A theme can be anything based on an occasion, for instance; birthdays, anniversary, housewarming parties or a wedding. To be more specific, you can choose the contents of the basket such as beauty products, chocolates, wine or wine accessories, grooming products, healthy food or you can play around by choosing a specific color the person likes and buy different things of the same color. Choose a category, make a list but also keep in mind the size of the basket so you won’t end up with items that are too huge or very small in size.
Some Category gift ideas to consider:
- Coffee lover
- Chocolate lover
- Gym Freak
- Wine Lover
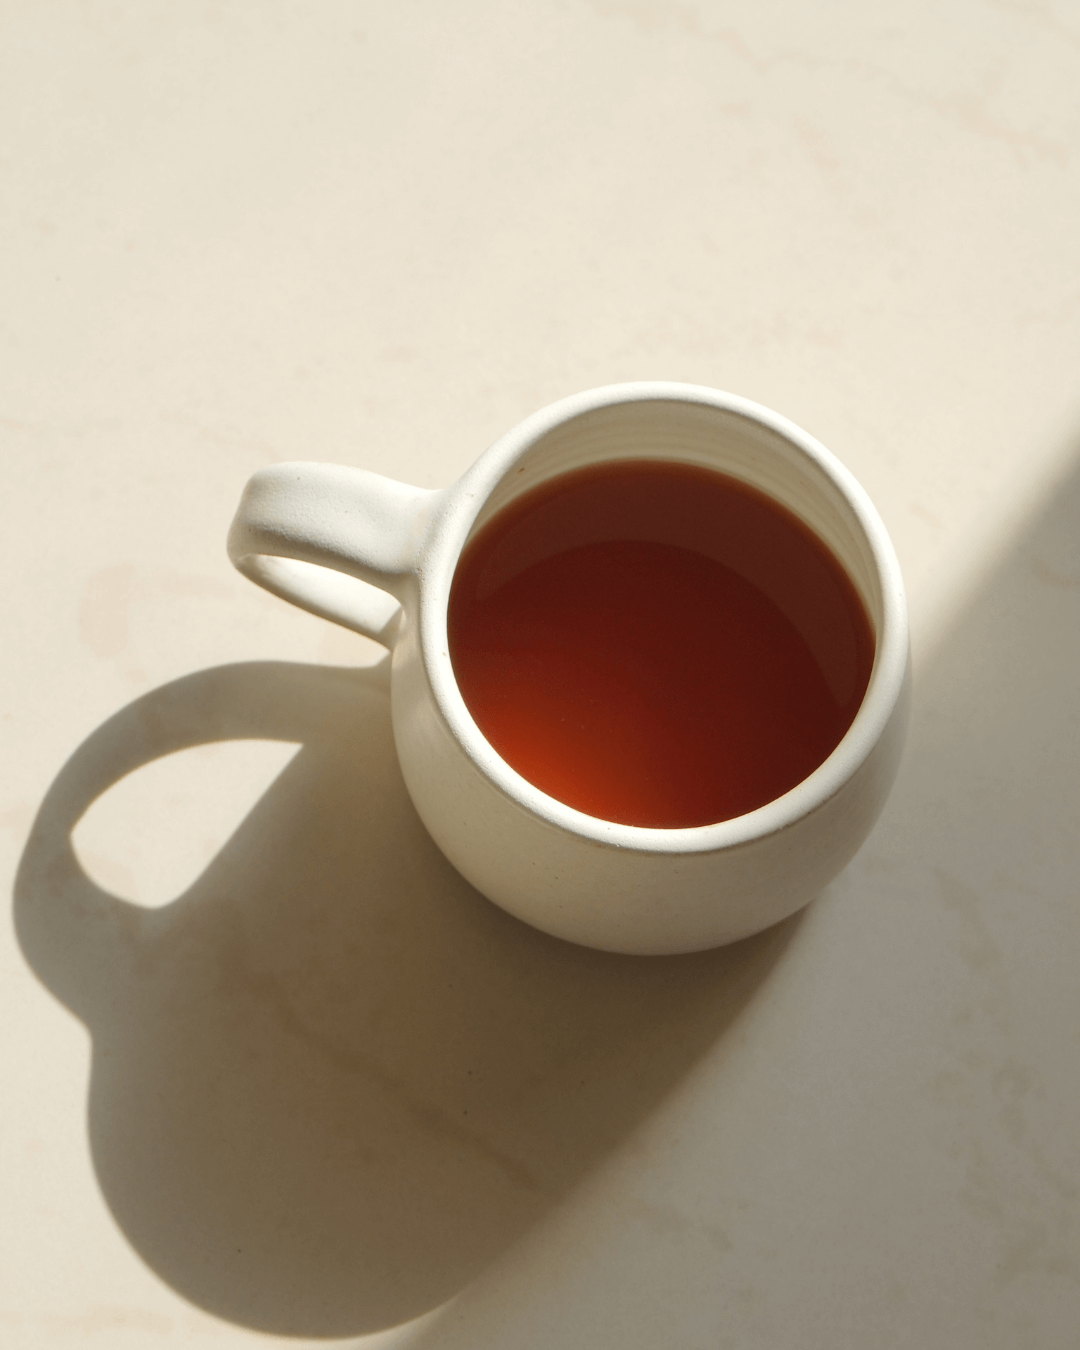
- Tea Lover
- Spa Enthusiast
- An Artist
- A Stationary collector
- Baby Shower
- New Mom
- Cosmetic lover
Materials you will need
- A simple basket (We recommend the one with handles)
- Cellophane wrap
- The Category items of your choice
- Scissors
- Fillers : Newspaper/ tissue paper/ Shredded colorful paper
- Ribbons

Organizing and Aligning
- Fill in any shredded paper you have on the base inside the basket so the contents are on a height and can be perfectly placed inside it. Fill more fillers if the basket that you have chosen is very deep then you might have to put in a few more layers to raise all the items.

- In a descending order align all the items inside the basket in a way that they can be seen in an overview
- Cellophane wraps are great to wrap up the basket but make sure the wrap is huge enough to cover the whole basket. You can easily find cellophane wrap at stationery or florist.
- Wrap the Cellophane by placing the basket in the middle of the wrap then gather the remaining material on the top and tie it together with the use of an elastic rubber band.

- Once you have secured it in place perfectly, cover the rubber band by wrapping your favorite ribbon around it and make a pretty bow to hide the elastic band, make sure the ribbon is big and wide enough according to the basket size. A good quality ribbon can lift the appearance of the basket.

Bonus Tips
- If there are small empty places. Cover it up by filling them with Shredded paper to make it look fuller.
- You can leave a lovely handwritten note or a small card to make it more personal.
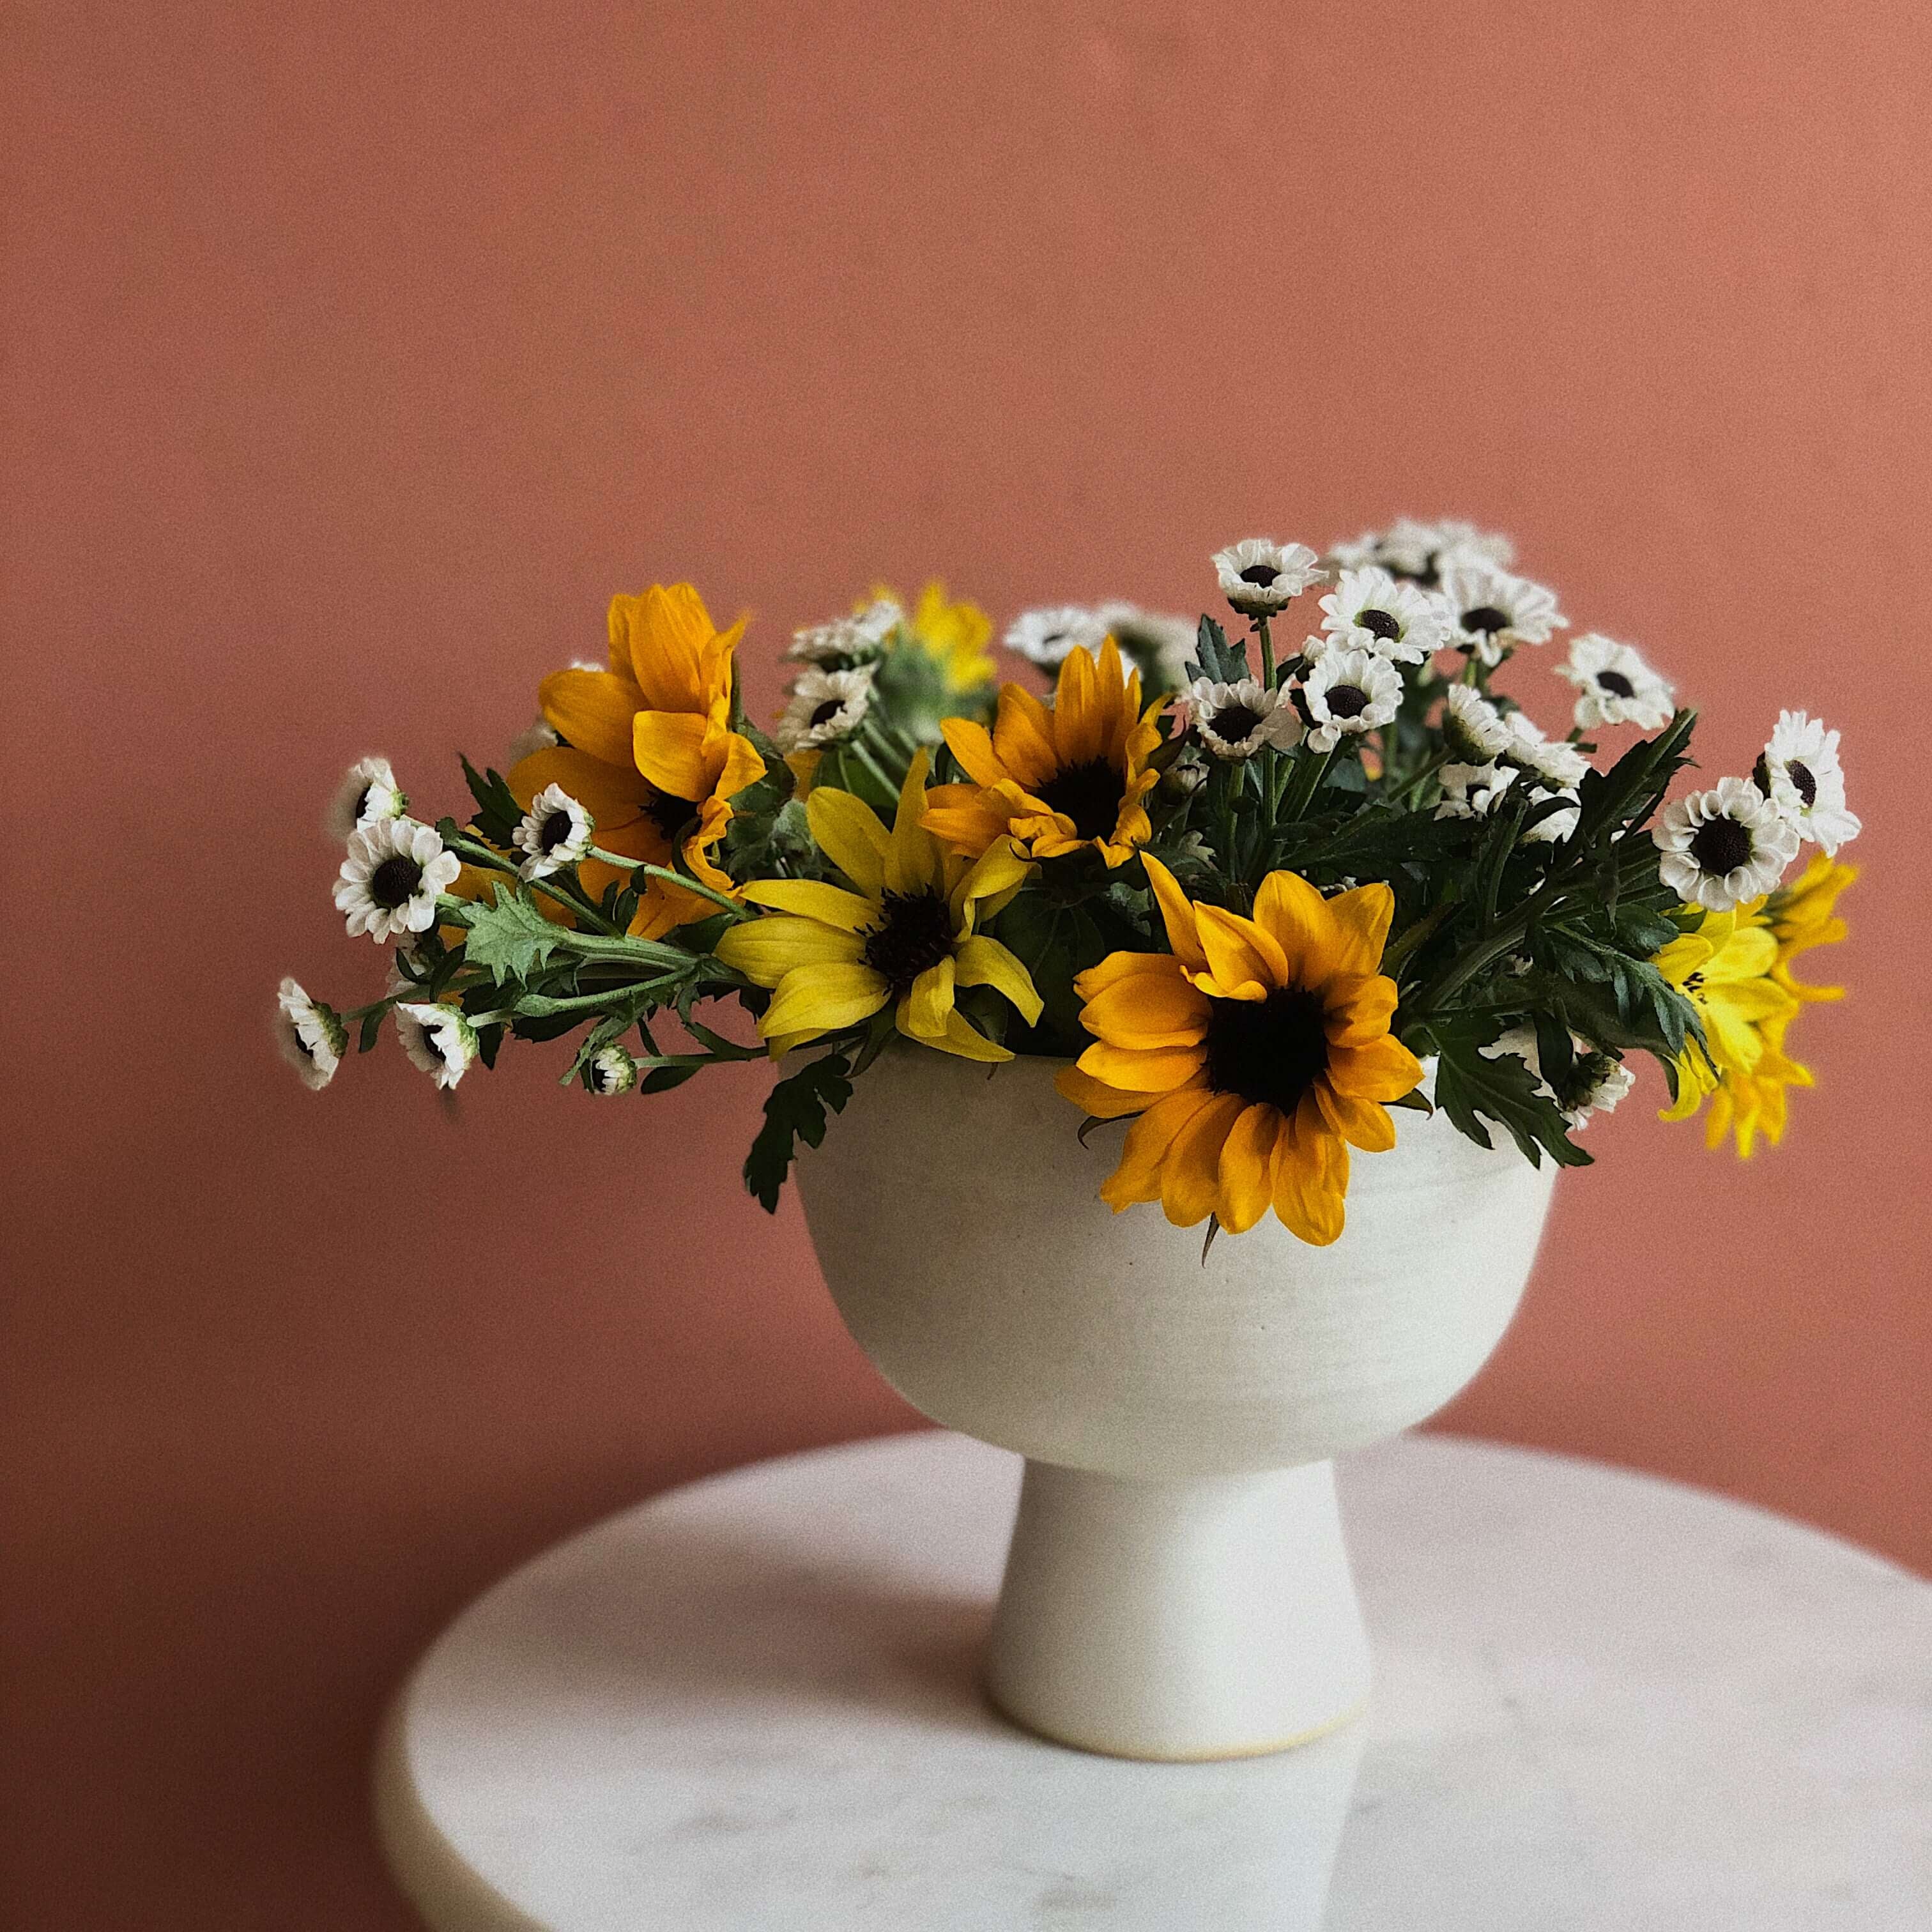
- You can also add Some freshly cut flowers to make it look flowery and aesthetically pleasing.
Blog written by Ashwini
1 comment
Thanks, for sharing this nice post
Purplelady Bugdecor
Leave a comment
This site is protected by hCaptcha and the hCaptcha Privacy Policy and Terms of Service apply.